Introduction to houdini vfx software

WHAT IS HOUDINI
Houdini is an industry-standard 3D animation, visual effects (VFX), and procedural generation software developed by SideFX.
What Makes Houdini Unique
- Procedural Node-Based Workflow: Instead of manually sculpting or editing polygons step-by-step, users build networks of interlinked rules and math (recipes). If you change an early parameter, the entire model or simulation automatically updates without losing your work.
- All-in-One Powerhouse: It handles dynamic simulations (fire, smoke, water, destruction, cloth, and particles), procedural terrain generation, character rigging (KineFX), lighting, look development (Solaris/Karma), and compositing in a single environment.
- Houdini Digital Assets (HDAs): Technical artists can package complex networks into custom assets with simple sliders, letting other artists generate unique geometry or effects without touching the underlying code.
HOUDINI KEY SHORTCUTS
General & Interface
- Tab: Open the Node/Tool menu
- Alt + N / Ctrl + N: New scene
- Alt + O / Ctrl + O: Open scene
- Alt + S / Ctrl + S: Save scene
- Alt + Q / Ctrl + Q: Quit
- Ctrl + T: New pane tab
- Ctrl + W: Close pane tab
- Q: Repeat previous operation
- Edit > Hotkeys: Access the custom Hotkey Manager
Scene View & Navigation
- S: Select mode
- T: Move (Translate)
- R: Rotate
- E: Scale
- W: Toggle wireframe mode
- D: Viewport display options
- Spacebar + G: Home all objects
- Spacebar + H: Home selected objects
- Middle Mouse Button: Tumble, dolly, or pan in the viewport
Network View (Node Graph)
- A: Select all nodes
- H: Focus / home view
- I: Dive inside a subnet or node
- U: Jump up one level in hierarchy
- Y + Drag: Cut wire connections
- J + Click and Drag: Reconnect node sockets
- Alt + Click and Drag (on wire): Create a reroute point
Animation & Keyframing
- Spacebar: Play / Pause timeline playback
- L: Enforce real-time playback
- Shift + L: Force real-time playback while scrubbing
- /: Toggle timeline looping
- I / O: Set start (In) and end (Out) points at current frame
- X: Zoom playbar to selected In/Out range
- K: Set keyframe on parameter
- Alt + K: Toggle Auto-Key
- Alt + Left-Click (on parameter label): Add or move keyframe
- Alt + Right-Click (on parameter label): Remove keyframe
NODES EXPLAINED
Core Node Contexts (Networks)
Houdini organizes its nodes into different “contexts” or network levels:
- Object Nodes (
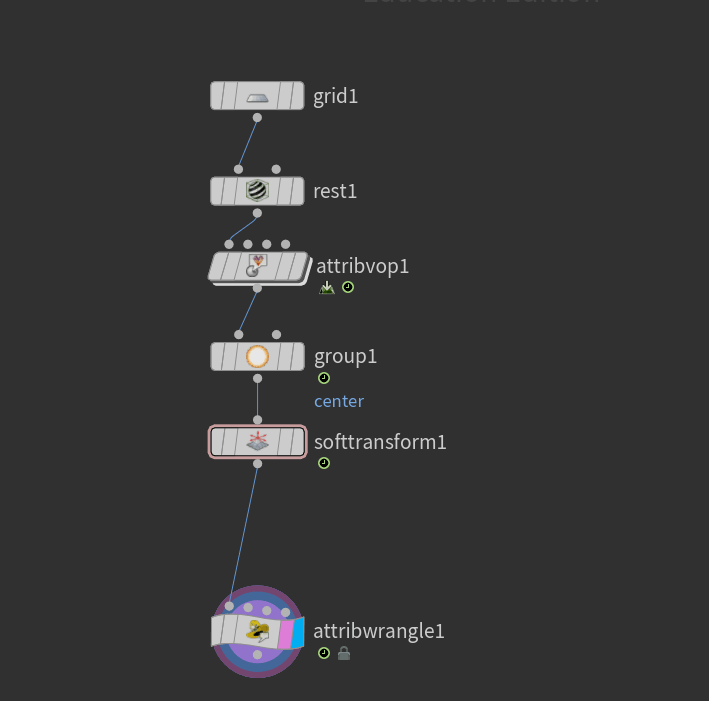
/obj): The top-level container for scene objects like geometry containers, lights, cameras, and character rigs. - Geometry / SOP Nodes (Surface Operators): Live inside a Geometry object to build and manipulate 3D models, curves, and points (e.g., box, transform, extrude, clip).
- DOP Nodes (Dynamics Operators): Control physics simulations like fire, smoke (Pyro), cloth (Vellum), fluids, and rigid body destruction.
- LOP Nodes (Lighting Operators): Build and manage scenes using USD (Universal Scene Description) for layout, lighting, and rendering.
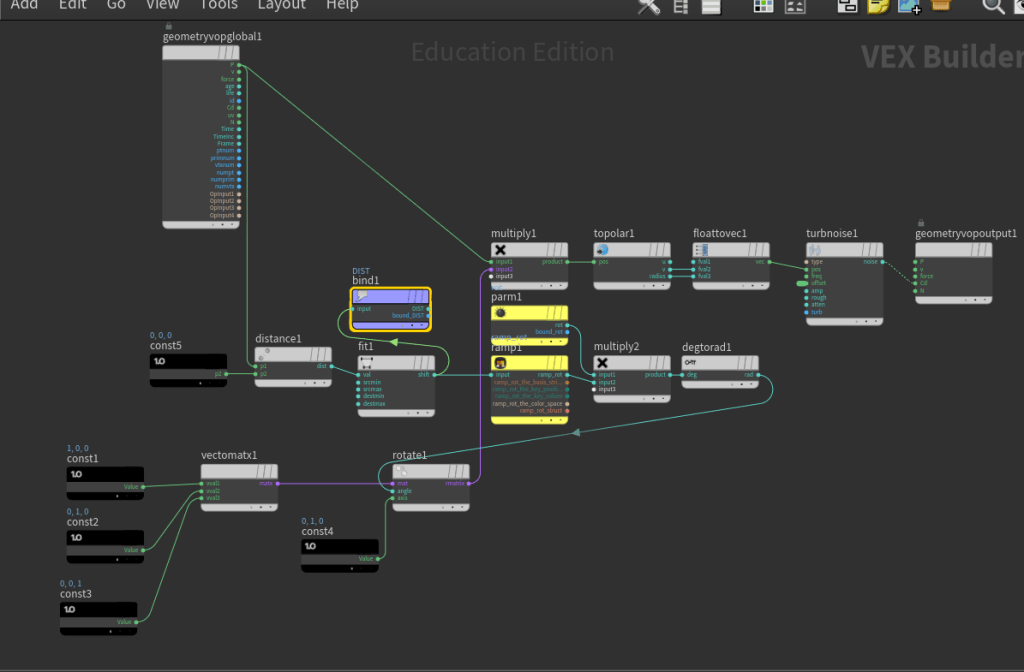
- VOP / VEX Nodes (VEX Operators): Visual node-based editors that compile down into fast VEX code to write custom shaders and attribute logic.
- COP Nodes (Compositing / Copernicus): Handle real-time image and texture manipulation directly inside Houdini.
- ROP Nodes (Render Operators): Set up rendering outputs and dependency pipelines for Mantra, Karma, or external renderers.
- TOP Nodes (Task Operators / PDG): Automate procedural task workflows, such as batch-processing frames or distributing work across a render farm.
- APEX Nodes: Used inside KineFX for modern character rigging and skeleton manipulation.
How Nodes Work Together
- Inputs and Outputs: Wires connect the output port of one node to the input port of another.
- Display and Render Flags: Colored flags on the side of a node dictate what you see in the 3D viewport (Display flag) or what renders out (Render flag).
- Non-Destructive History: Because the entire chain is saved as a live recipe, you can jump “back in time” to tweak an early value or switch out a base shape at any point.
Our first and second week we studied new nodes and animation, example below
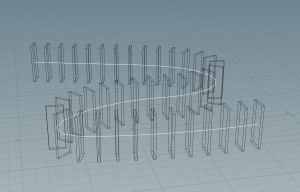
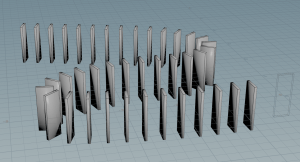
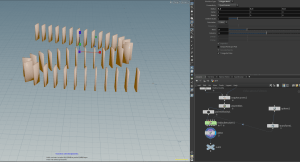
Workflow in Houdini for domino annimation
- Build the Path: Draw a curve (such as a Bezier curve) in the viewport to define where the dominoes will travel, and use a Resample node to place points along the curve at exact intervals.
- Create the Domino Geometry: Make a simple box to represent a single domino, align its base using a Match Size node, and use a Copy to Points (or Copy to Curve) node to duplicate the tile along the resampled curve.
- Pack the Geometry: Add an Assemble node and turn on Create Packed Geometry so the physics solver treats each domino as an efficient rigid object.
- Set Up Physics: Plug the geometry network into an RBD Bullet Solver. Add a ground plane or ground collider in the collision settings so the tiles do not fall through the floor.
- Trigger the Chain Reaction: Give the first domino an initial push or velocity (using a velocity attribute or a force) so it tips over and knocks down the next tile in line.
- Run the Simulation: Play the timeline to let the Bullet Solver calculate the sequential physical collisions across the row.
Week 3: Wall collision
week 4: particle effect animation
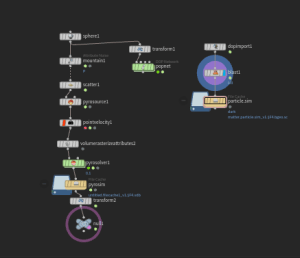
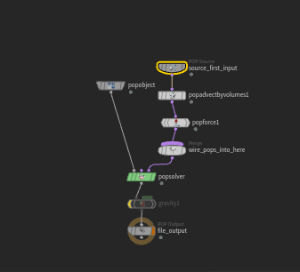
Week 5: smoke animation/simulation
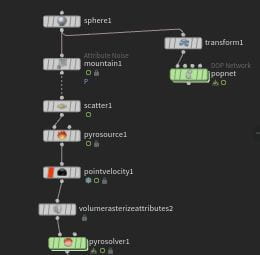
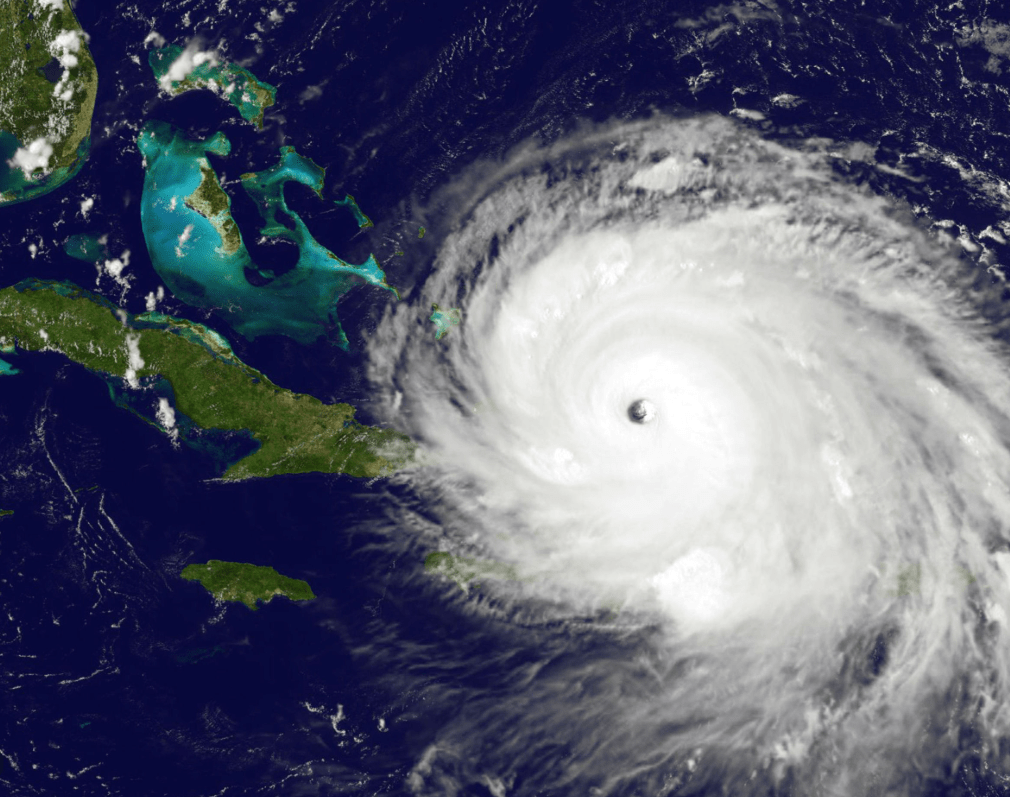
week 6 assignment idea: hurricane